tie dye dry technique

Place a rubber band every inch or two down the length of the socks. Pour that mixture over both sides of the t-shirt.
Wet Vs Dry Tie Dye Which One Is Better The Adair Group The Adair Group
3 Circle Technique Pick up centre of circle and smooth folds formed from it.
. Just dowse it in water and put it in your bucket. Lay the fabric flat. Afterward you can strain the dye solution through cheesecloth fabric to make sure there are no undissolved particles if you find the dye is not dissolved.
Plastic will puff up creating a heat chamber that helps bond the dye with the fabric. Dyeing knotted fabric creates a design where fine lines of white like the irregular shape of cracked glass run throughout your dye colors in random directions. Remove most of the water until the shirt is no longer dripping.
The final design is given below 7. Bind dye untie dry. Tie dying socks is very similar to shirts you just have a smaller canvas to work with.
Place dye bottles a bucket a roll of paper towels and sealable plastic bags at each tie dye station 3. Once the microwave is done remove the fabric and open the plastic letting it cool down. If youre new to tie-dye youre probably wondering if you need to dry your shirt before dyeing it.
The only prerequisite is for the fabric to already be colored. My shirt immediately changed colors. Reverse-dyeing can be used with any tie-dye folding technique or dyeing pattern.
To get the shirt perfectly moist we recommend that you first soak it in lukewarm water before wringing it by hand. Place your dyed item into the microwaveable Two-Minute Tie Dye Container and snap it. Hold each end of your fabric in your hands so the length of it is stretched between.
Folding Tie Dye Technique First fold your fabric in half. Lay two socks together and fold in half lengthwise. Start with a damp folded shirt.
Use equal parts vinegar and water in your dye or add ½ cup of salt to each quart of water you use for your dye. Use the special dye bottles to apply the dye to the folded edges of the fabric on both sides. If you want to do this step just mix1 cup of warm water with1 tbs of the dye fixative.
Radius of the circle is determined by the distance from the point to the bottom of the bindings. Fold fabric in half along centre line of oval. Pinch and fold the fabric all over securing with rubber bands as you work.
Next pour bleach all over it. The first thing you need to do it get your shirt wet. Once all dyes have been added double check that your item is still damp in all sections.
Step 2 Cure and rinse your shirts according to. Roll the fabric around a tube we used a paper towel roll. The Rit ColorStay Dye Fixative enhances the color and reduces bleeding.
Place 2 sheets of paper towels in each bucket to absorb excess tie dye. Shibori Tie Dye Technique. Secure with rubber bands.
Cover pot and heat water on stove top to just below boiling or 180F 82C. Add 1 teaspoon of dish detergent to help promote level dyeing. Wet vs Dry Tie Dye Technique.
Step 1 Use some kind of fixative in your dye. Heat the water in your pot up to 70 degree C. In this reverse tie-dye technique bleach is the substance creating the design.
If not spritz with water to re-dampen as any dry spots could scorch in the microwave. Start with a slightly damp shirt this method is very enjoyable and will quickly teach you the fundamentals of tie-dye. Tightly scrunch both ends of the fabric toward the center.
Finally follow the last basic step step 5. Rotate the tube and continue applying the dye until the fabric is completely saturated. Apply a different color of dye in each section.
Light-colored vinegar or salt are the simplest and cheapest fixatives. Once cleaned dip the shirt in water then squeeze out any excess. Wet Tie-Dying To wet tie-dye begin by washing the shirt to remove sizing that might interfere with dyeing.
Start by tying your shirt in the desired shape. Sometimes this is a negative thing. The squirt bottle method is one of the most common methods for tie-dyeing.
Check the color strength on a scrap. We have tried many different methods and have the answers. Fold again in half after that once again so that eight layered panels are obtained.
As a general guideline one bottle of Rit DyeMore will dye up to two pounds of dry fabric. Dyeing with bleach is a way to tie-dye in reverse to remove color instead of adding it. Leave for at least 20-30 minutes to really saturate the ends.
How to tie-dye t-shirts - 6 easy methods to try at home. As the ice melts the water flows creating motion in your design. In other cases though it can be beneficial.
Using a spoon add a layer of dye powder on a section of the shirt. Place crushed ice on top of the crumpled up shirt. Dye penetrates dry fabric differently than wet or damp fabric.
Dyeing a damp shirt Damp shirts are the best. Ombre Tie Dye Technique. There are no specific measurements for this.
The more wrinkles the more detail your shirt will have. 2 Twist the fabric into a long rope. This is how I dyed.
To create a pair of matching tie-dye striped socks. Dissolve the dye in this water stirring continuously. Prepare your t-shirt or other cotton material for tie dying Completely soak your t-shirt in cold water wring the excess water out Place the rack inside of your dish Crumple your shirt up on top of the rack.
As the bleach reacts with fabric it begins breaking down the color present in the fibers. If you skip this step you might risk the bleach eating through your fabric. From here mix a solution of one part water and one part bleach.
Place the wrapped fabric on a paper towel in the microwave and heat for 2 minutes. Microwave Wrap the shirt inplastic wrap place on a paper towel and pop it in the microwave for 2 minutes. Add more dye powders according to your desires.
Which one is better. Without the added moisture it spreads much less. Take off the flame.
Tie-dye techniques for beginners. Apply the dye to the fabric. In the traditional tie-dye process the dye is added to the fabric to create a colorful design.
You just dip a portion of your chosen item in dye and let it dry. If dyeing 100 polyester or trying to achieve a very bold color double the dye quantity. If you are thinking about trying to dye a dry shirt the best option is to fold and secure it while it is wet and then let it dry.
Trade liquid water for ice cubes and you get ice-dyeing. If you want a gradient affect try dipping the whole garment really quickly then use clothes pins to let the bottoms soak in the bucket. Bind dye untie dry.
Square Technique Fold fabric lengthwise through centre. Ice-dye tie-dye with ice One of the most unique and well recognized technique. Use plastic buckets to contain dye and make cleanup easy 4.
Then twist each hand in opposite directions in a wringing motion.
How To Wash Tie Dye So It Stays Vibrant Lovetoknow

Tie Dying Wet Vs Dry Fabric Swirl Youtube
Let S Dye T Shirts With Dry Tie Dye Powder Youtube

2 Tips For Tie Dye Youtube

Tie Dye Should You Dye Wet Damp Or Dry Material Youtube

Dry Vs Wet Tie Dye Technique Tie Dye Techniques Tie Dye Dye

So Many Ways To Tie Dye Your Spiral Tee This Summer Try One Of These Awesome Pattern Techniques Today With Tie Dye Patterns Diy Diy Tie Dye Shirts Tie Dye Diy

Comparing Low Water Immersion On A Dry Vs A Damp Shirt Tie Dye Design Technique Youtube
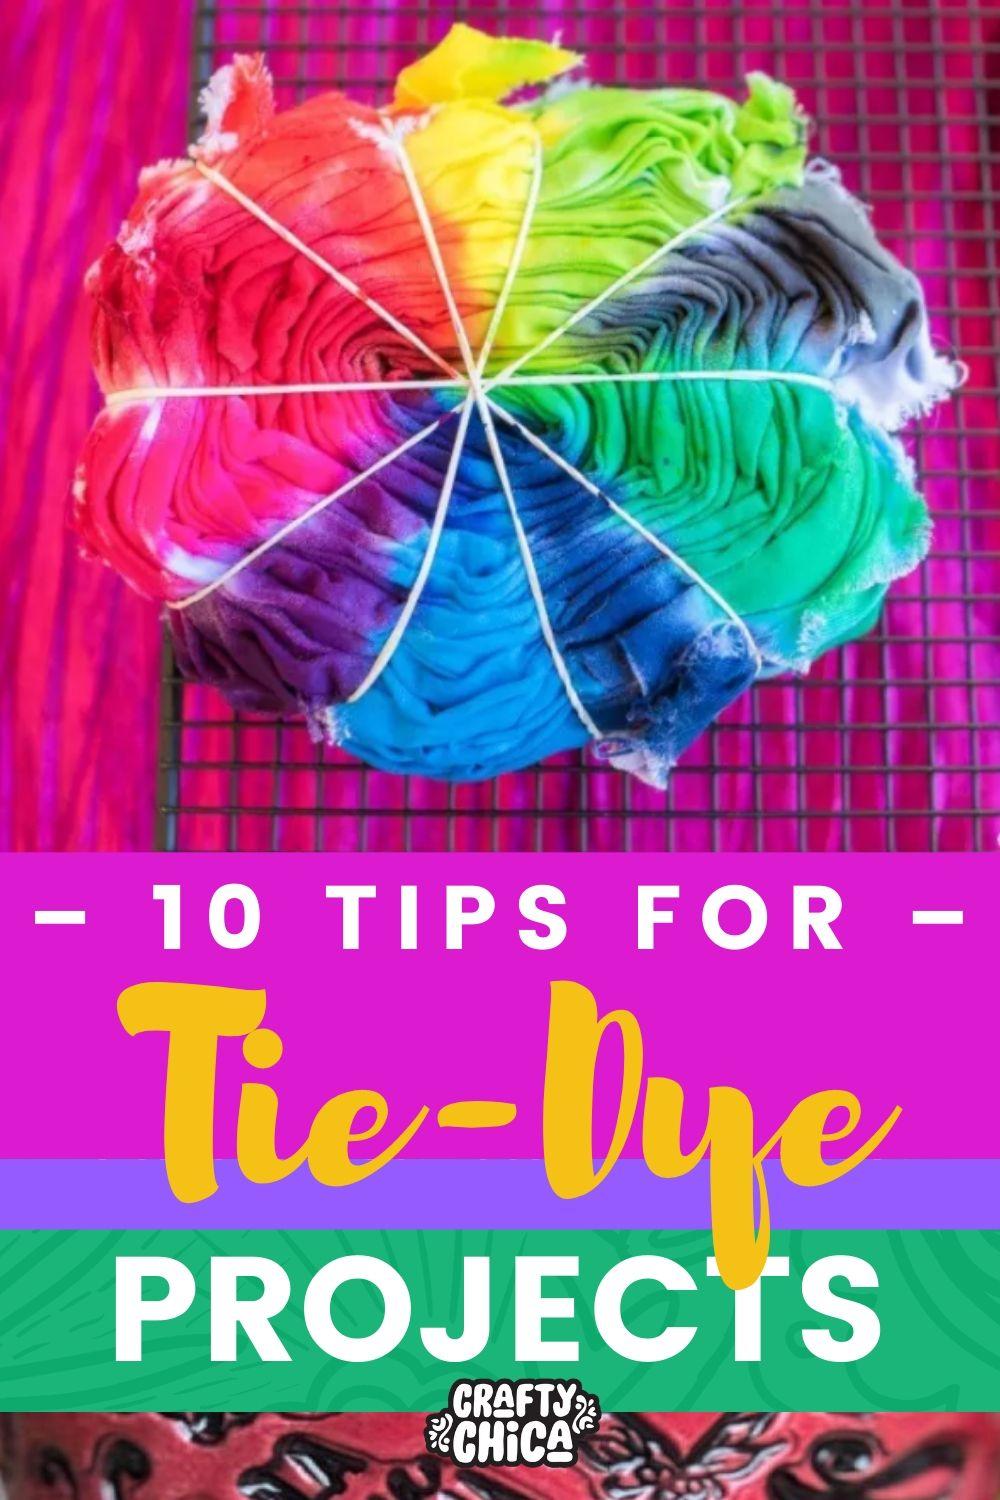
10 Tie Dye Tips Do And Don T Checklist The Crafty Chica
Post a Comment
Post a Comment